Cambria Creature Survival Detailed Builds and Part Loadouts
Concrete kits for Hatchling-to-Elder survival, nesting duty, and contested 150-player servers.
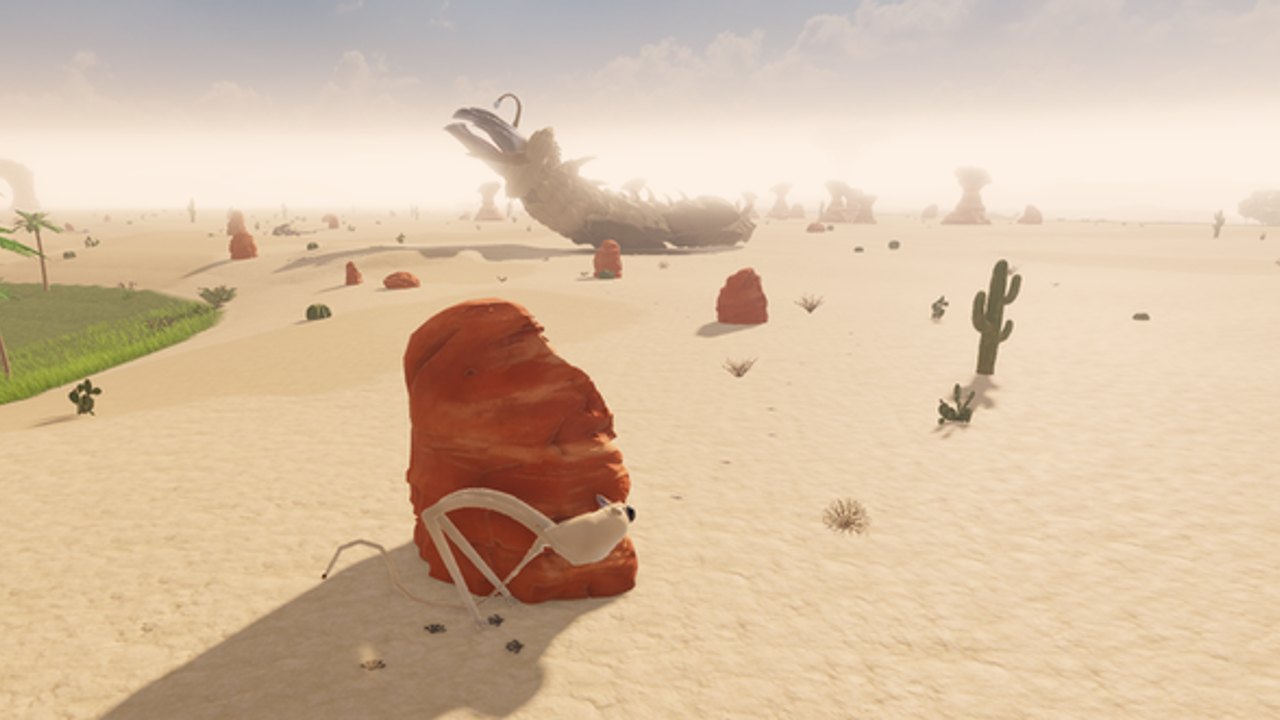
This Builds page turns the Tier List Hub into actionable loadouts for Cambria Creature Survival. You still assemble bones, jaws, limbs, and wings yourself—there is no locked roster—but these templates tell you what to optimize first. Use the Creature Builder guide for editor workflow, then return here when you need a named plan.
Early-access balance can swing after restarts (Updates). Prefer flexible hybrids over single-stat memes until systems harden.
How to read each build
Every template lists goal, part bias, key binds to master, molt notes, weakness, and pack role. Practice binds via Controls. Growth timing via How to Grow.
Build A — River Door Hybrid (starter S-leaning)
Goal: Contest food, hold nest mouths, forgive beginner pathing errors.
Part bias: Sturdy bones, high-impact jaw, moderate limbs, no or minimal wings.
Master: brace (B), harden (7), stomp (6), grab (F), eat/drink (E).
Molt notes: Molt when fed after a safe loop; size increases help door presence but hurt tiny burrows—retest holes after each stage.
Weakness: Pure chase fleets; long tornado relocations.
Pack role: Anchor tank. Pair with a hunter from Build C.
Why it works: Matches the S-tier hybrid philosophy on the hub page while staying simple for Getting Started graduates.
Build B — Controlled Scout Flyer
Goal: Map control, nest relocation, early weather calls.
Part bias: Medium bones, reliable finishing jaw, enough limbs to land-fight, committed wings.
Master: dive (Ctrl), rest (X), smell (Q), map (M), burrow (H) after landing.
Molt notes: Do not molt in the air mid-storm. Land, drink, molt in cover.
Weakness: Hurricanes and stamina debt; grounded ambush packs.
Pack role: Scout. Call tornado paths and raid blips for Packs and Nests.
Why it works: Keeps flyers in A/S conversation by demanding discipline instead of exhibition habits.
Build C — Skirmish Runner
Goal: Fast meals, carcass theft, raid escapes.
Part bias: Lighter bones, sharp jaw, high limbs, tiny or no wings.
Master: sprint (Shift), lunge (V), thrash (R), crouch (C) approaches.
Molt notes: Speed kits stall if they overfight. Take the meal, leave, molt on a timer—not on a killstreak.
Weakness: Sustained sieges and open weather without burrow prep.
Pack role: Hunter. Deliver food to nest parents.
Build D — Brush Ambush
Goal: Pickoffs near water lines and storm funnels.
Part bias: Camouflage-friendly silhouette, grab-centric jaw, flexible limbs, optional light wings for reposition only.
Master: crouch (C), spit (8), grab (F), throw (T), precise move (Z).
Molt notes: Ambush income is spiky—buffer hunger before molting or you stage up into a famine.
Weakness: Contested hotspots on full servers; multiple scouts checking brush.
Pack role: Flanker during defense, solo pick specialist otherwise.
Build E — Sense Lead Support
Goal: Information dominance for pack survival.
Part bias: Balanced mobility, non-fragile bones, jaw good enough to finish weakened prey, parts that do not block quick burrow entry.
Master: smell (Q), echo (Y), roar (G) codes, map discipline.
Molt notes: Support players often delay personal molts to watch eggs—schedule personal growth loops deliberately.
Weakness: Low solo duel power if isolated.
Pack role: Sense lead / weather watcher.
Molt breakpoints (habit version)
Exact thresholds may change in patches. Use habits:
- Never molt critical—hunger/thirst must be buffered.
- Never molt into a warning sky—see Weather Survival.
- Retune burrow fit after body growth.
- Retune nest door spacing after parent molts.
- One audit life after a combat patch before rebuilding everything.
Pack composition menus
| Duo | Trio | Full fantasy |
|---|---|---|
| A + C | A + C + B | A + C + B + E (+ D as flex) |
Avoid triple Build B exhibition squads. Avoid triple Build C with zero door. Social context sits on the Players Hub.
Nesting variants
When eggs go down (How to Nest):
- Swap pure skirmish parents toward hybrid A for door HP fantasy
- Keep one C on food duty
- Ground flyers when hurricanes loom—Build B becomes a landed brace body
Anti-builds (stop doing these)
- Wing-max Hatchling with no jaw
- Armor-max with no sprint identity on a drought map
- Grab-only meme that cannot finish downed prey
- Any kit that cannot press burrow because of hitbox arrogance
Testing protocol
- Hatch template.
- Ten-minute meter test (drink, smell, meal, rest, burrow).
- One contested carcass attempt.
- One weather drill if the server cooperates.
- Keep, tweak, or scrap with notes—not emotions.
Progression without codes or scripts
There are no confirmed active codes (Codes). Scripts will not replace a bad jaw (Scripts). Builds plus routing beat paste menus.
Patch swaps
If flight costs spike, shift B players temporarily onto A/C. If jaw values drop, lean grab-spit D patterns and pack focus fire. Re-read the Tier List Hub after each notable combat note in Updates.
Summary table
| Build | Lane | First priority |
|---|---|---|
| A Door Hybrid | Tank hybrid | Brace + jaw finish |
| B Scout Flyer | Controlled wings | Dive + rest |
| C Runner | Speed | Lunge + leave |
| D Ambush | Pickoff | Crouch + grab |
| E Sense | Info | Smell + roar codes |
Pick one template, master its binds, fund its molts, then fashion the silhouette. Cambria’s best loadouts are boring on paper and terrifying on a contested river at dusk. For more systems links, use the Guides Hub and Links Hub.
Frequently Asked Questions
Quick answers for Cambria Creature Survival players.
Which build should beginners start with?
Build A, the River Door Hybrid. It forgives pathing mistakes, contests food, and teaches brace and grab before extreme flight investment.
Can I mix two builds?
Yes—hybridization is the point of the creature builder. Keep one clear win condition so you do not press conflicting buttons in a crisis.
What if a patch nerfs my main kit?
Play one audit life, then shift toward another template. Flexible A/C cores survive early-access swings better than pure memes.
Do these builds work on phone?
Yes. The verbs are identical; touch layout changes only how you press them. Simplify combos if grab-throw timing is harder on mobile.
Where do pack roles get more detail?
See the Players Hub and Packs and Nests pages for trust ladders, watches, and egg defense rotations that match these kits.