Getting Started in Cambria Creature Survival
Your first Hatchling-to-stable loop on Roblox’s Spore-inspired survival sandbox.
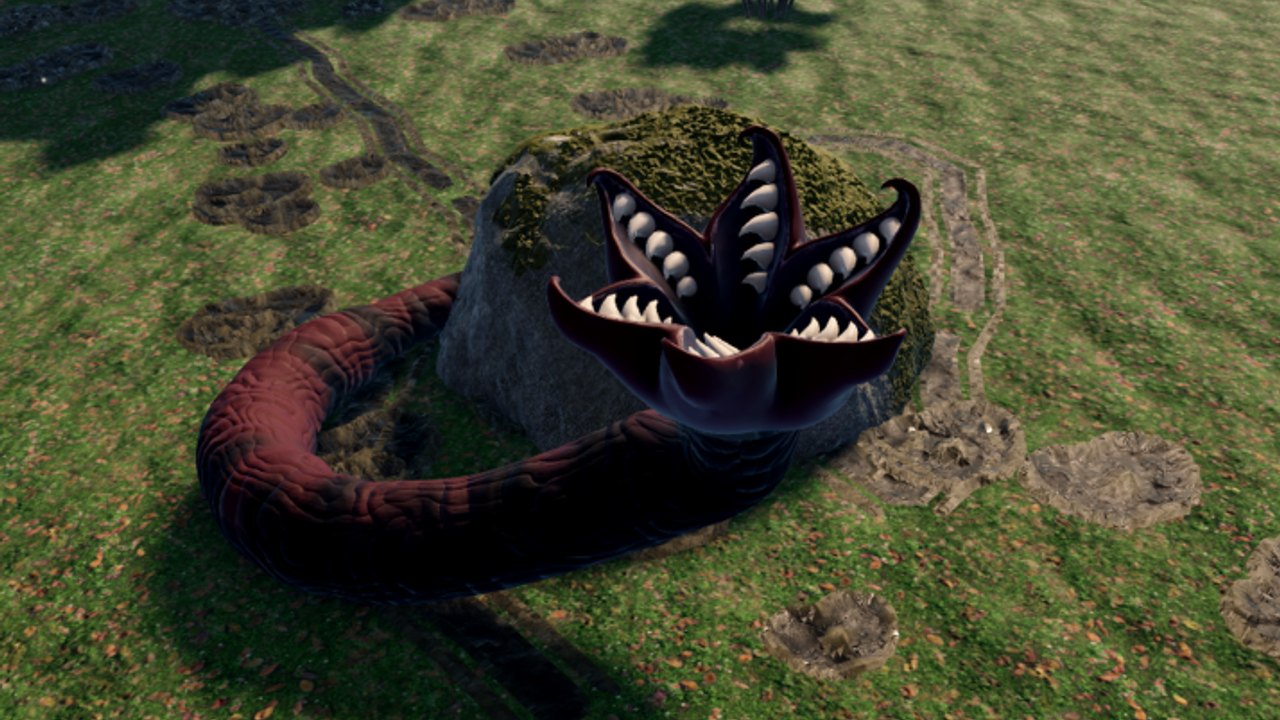
Cambria - Creature Survival drops you into a living ecosystem where anatomy is a loadout and the weather is a boss. This getting-started guide assumes you just clicked play on the Roblox place and want a clean first hour. You will build a creature from bones, jaws, limbs, and wings, hatch, then manage hunger, thirst, hunting, and molting while other players—and storms—contest the same map.
If you need raw keybinds immediately, keep Controls open in a second tab. If your parts already feel wrong, jump to Creature Builder after the first death instead of rage-deleting five drafts.
What you are trying to do
The durable loop looks like this:
- Assemble a creature that can move, bite, and preferably burrow or brace.
- Hatch without sprinting into the first Elder you see.
- Stabilize drink and food with
E. - Learn smell (
Q), rest (X), and burrow (H) before fancy flight tricks. - Molt (
N) through growth stages toward Elder when you are fed, not panicked. - Optionally nest (
K), join a pack (P), and survive weather events.
Everything else—roars, stomps, spit, meteor screenshots—is optional until those six lines are automatic.
First build advice (keep it boring)
New players overbuild wings and underbuild jaws. For life one, prioritize:
- Enough limbs to sprint (
Shift) and turn - A jaw that can finish small prey or contest scraps
- Bones that let you brace (
B) or harden (7) once - Optional modest wings only if you already understand dive (
Ctrl) and rest
Fashion spines can wait. The Tier List Hub favors tank-ambush hybrids for a reason: they forgive pathing mistakes on crowded 150-player servers.
Minute-by-minute first session
Minutes 0–5: Hatch, open map (M), locate water, and drink. Do not pick a fight. Practice crouch (C) and precise move (Z) so you can sneak past larger silhouettes.
Minutes 5–15: Smell for food. Eat until the meter is comfortable. Rest if stamina is trash. Avoid meteor sightseeing tours.
Minutes 15–30: Take one short hunt or forage circuit. Practice attacks 1–5 on safe targets. Try grab (F) once so you know the timing.
Minutes 30–45: If fed, consider a first molt. Molting while starving or mid-storm is how highlight reels of failure start. Read How to Grow Fast before chaining molts.
Minutes 45–60: Scout a burrow and a future nest tile, even if you will not lay yet. When weather warnings hit, you already know the hole.
Deaths that teach vs deaths that waste time
Useful deaths: misjudged a duel, learned grab range, discovered a wildfire path. Waste deaths: ignored thirst, AFK on a ridge in a hurricane, followed a stranger to “free eggs,” installed a random script on your only account.
There are no confirmed active codes yet—see Codes—so do not die on a scavenger hunt for fake strings. Script curiosity belongs on a side account after reading Scripts.
Combat without becoming a menace
Attacks 1–5 are your basic kit. Add stomp (6), spit (8), lunge (V), and thrash (R) as you stabilize. Roar (G) is communication as much as flex—packs use it for warnings. On phone, the same actions sit on on-screen buttons; the verbs do not change.
Do not measure success by player kills in hour one. Measure success by surviving to a planned molt with food in reserve.
Social landmines for beginners
Friendly pack invites can be real. They can also be nest bait. Use the trust ladder on the Players Hub: hunt together before sharing egg coordinates. Learn How to Nest before you become the weak link in someone else’s clutch.
Weather is not optional content
Storms, hurricanes, tornadoes, wildfires, and meteor showers will end otherwise perfect runs. The moment the sky changes, prioritize burrow, brace, and relocation over loot. Full tactics live in Weather Survival. Beginners who treat weather as “lag” donate Elders to the environment.
UI and quality-of-life habits
Uhides UI for screenshots—remember to toggle it back before a fightAltfrees the cursor for menusIopens shop; useful later for cosmetics or code fields if they appearLsave & leave when the client supports it—early patches restart often (Updates)
After your first successful life
- Rebuild with intent using Creature Builder and Builds.
- Push growth efficiency with the dedicated growth guide.
- Attempt a nest only when food routes are stable.
- Bookmark the Guides Hub and Links Hub for navigation.
Beginner checklist (print mentally)
- Can drink and eat without hunting the key
- Can smell and rest on command
- Know one burrow route from your favorite food tile
- Survived one weather warning without panic sprinting into a cliff
- Completed one intentional molt while fed
- Did not trust a stranger with egg pins on day one
Cambria rewards patience dressed as a monster. Your first Elder will come from boring, correct decisions stacked for an hour—not from copying a chaotic showcase move for move. Use the showcase video on this page for visual orientation, then play your own careful life next.
Frequently Asked Questions
Quick answers for Cambria Creature Survival players.
What should I do first after hatching?
Find water, drink, then stabilize food with smell. Avoid fights and long flights until rest, burrow, and map habits feel automatic.
Should my first creature be a full flyer?
Usually no. Start with a simple hybrid that can sprint, bite, and brace. Add serious wings after you understand dive, rest, and weather.
Where are the keybinds listed?
See the Controls guide for the full PC list and mobile notes. This Getting Started page focuses on priorities, not every key.
When should I nest for the first time?
After you can keep food and drink stable and you know a burrow. Read How to Nest before laying eggs on a contested ridge.
Are there beginner codes?
No confirmed active codes yet. Do not stall your first hour on fake lists—check the Codes Hub periodically instead.